Set up your agents
Learn how to add, manage and remove your agents from Cube.
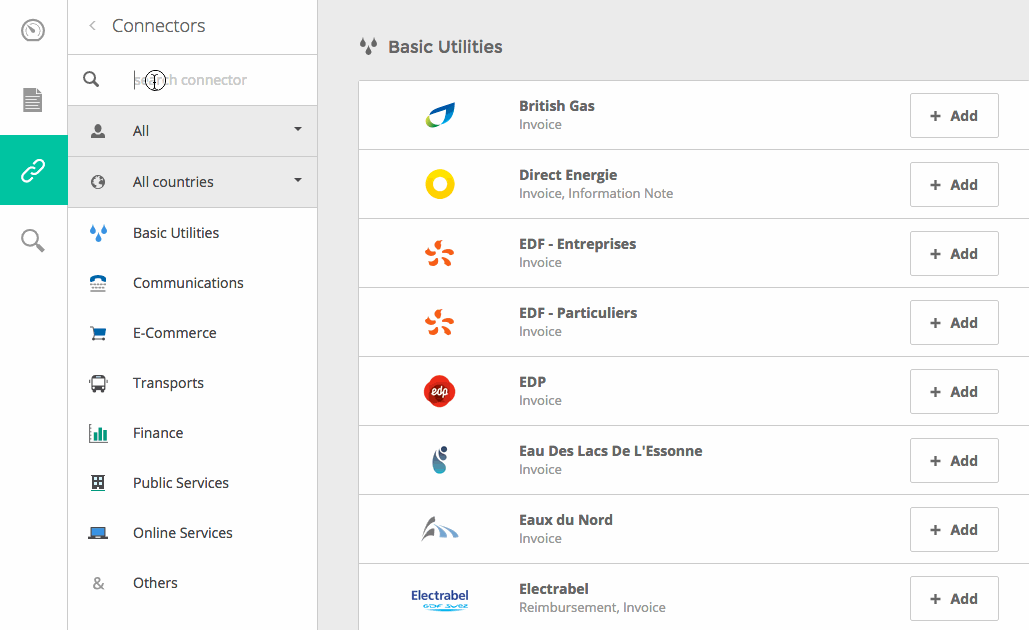
Search your agent
You can start adding your agents in your Agents tab, by writing the name of the agent in the Search option. If the agent you chose already exists it will appear immediately within the correspondent category list. By clicking on the button Add it will be opened the window to insert your provider credentials.
Set up your credentials
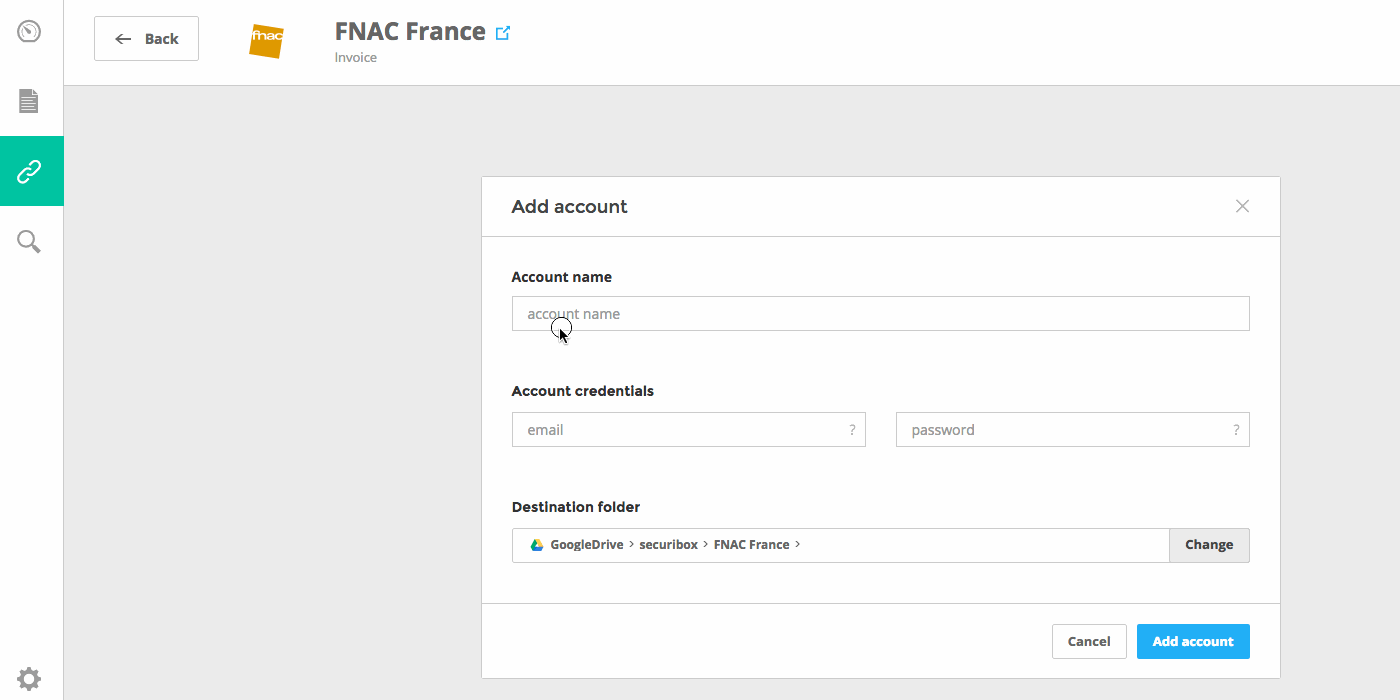
After choosing your agent you need to set up your issuers credentials Account name, email and password. Once you fill out these fields, chose the cloud to where do you want to send and keep your agent’s documents. You can go to the issuers login page, anytime you want, to confirm your credentials.
Once you finish all these steps click the button Add account.
Synchronization & Notifications
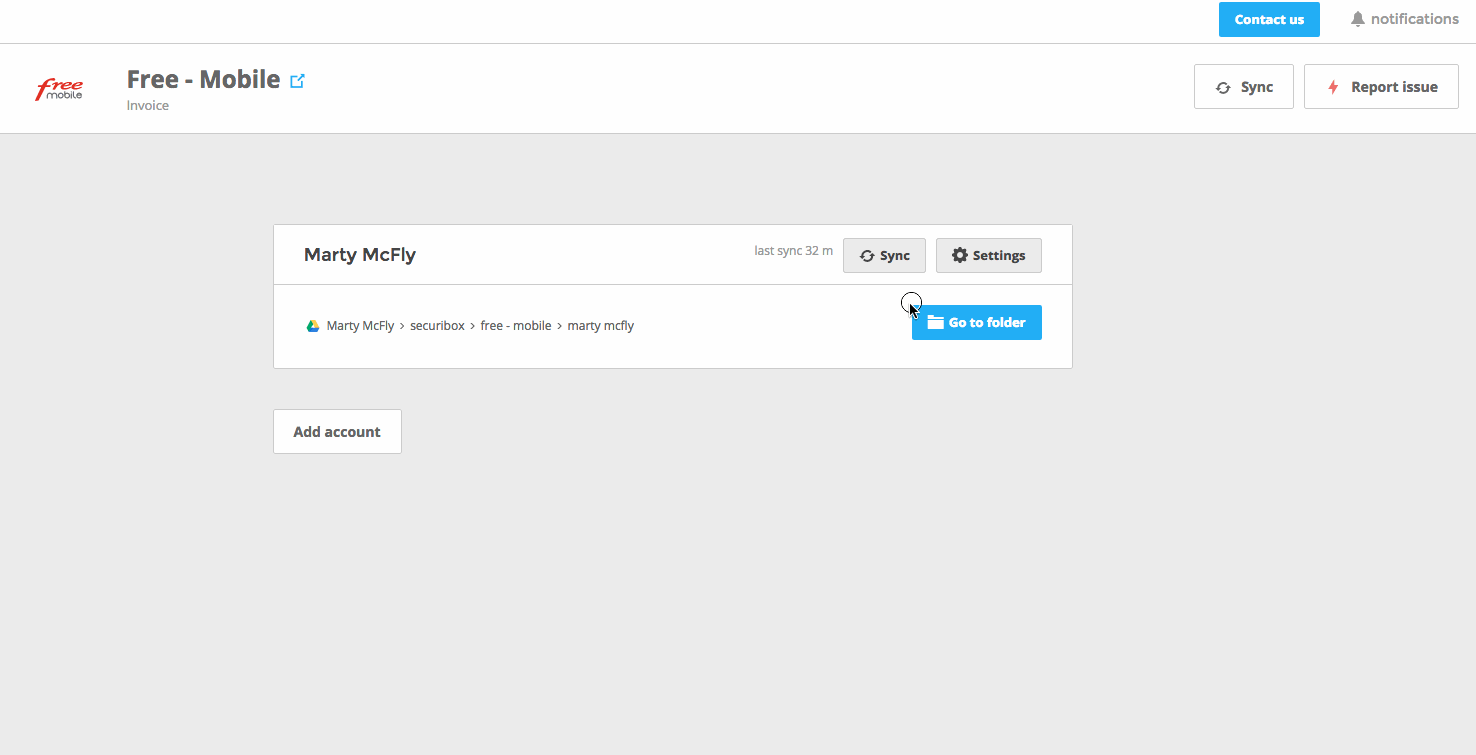
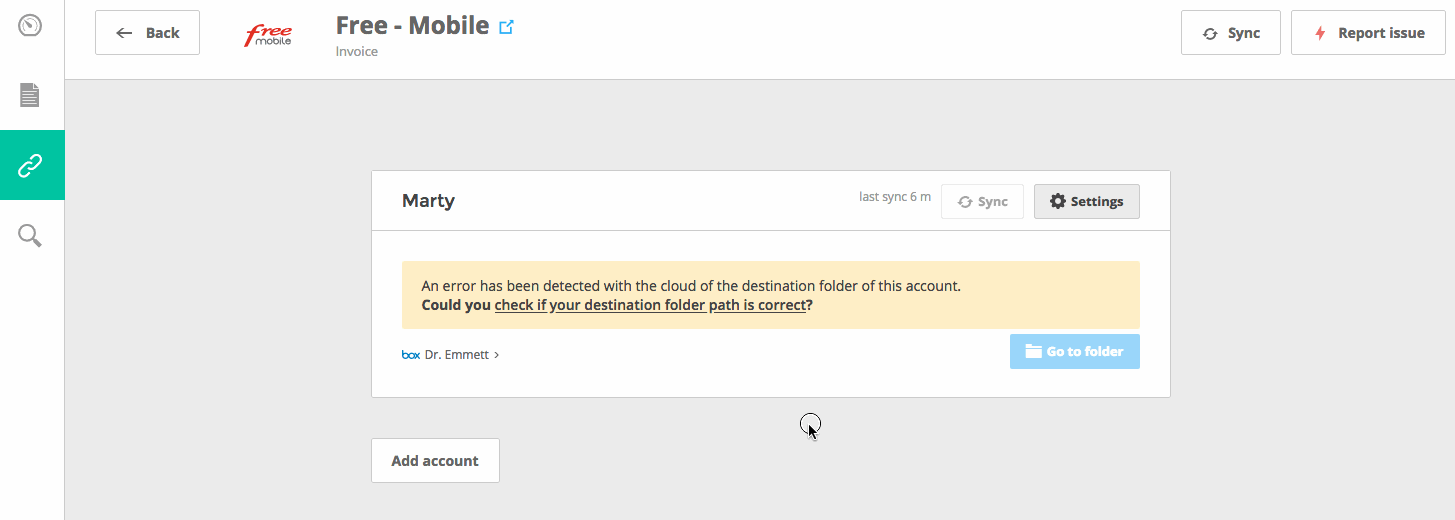
Everytime an agent is added to your Cube you have to synchronize to start to receive your issuer documents. After this first moment, all the synchronizations are automatic, thereby having always all your documents up to date.
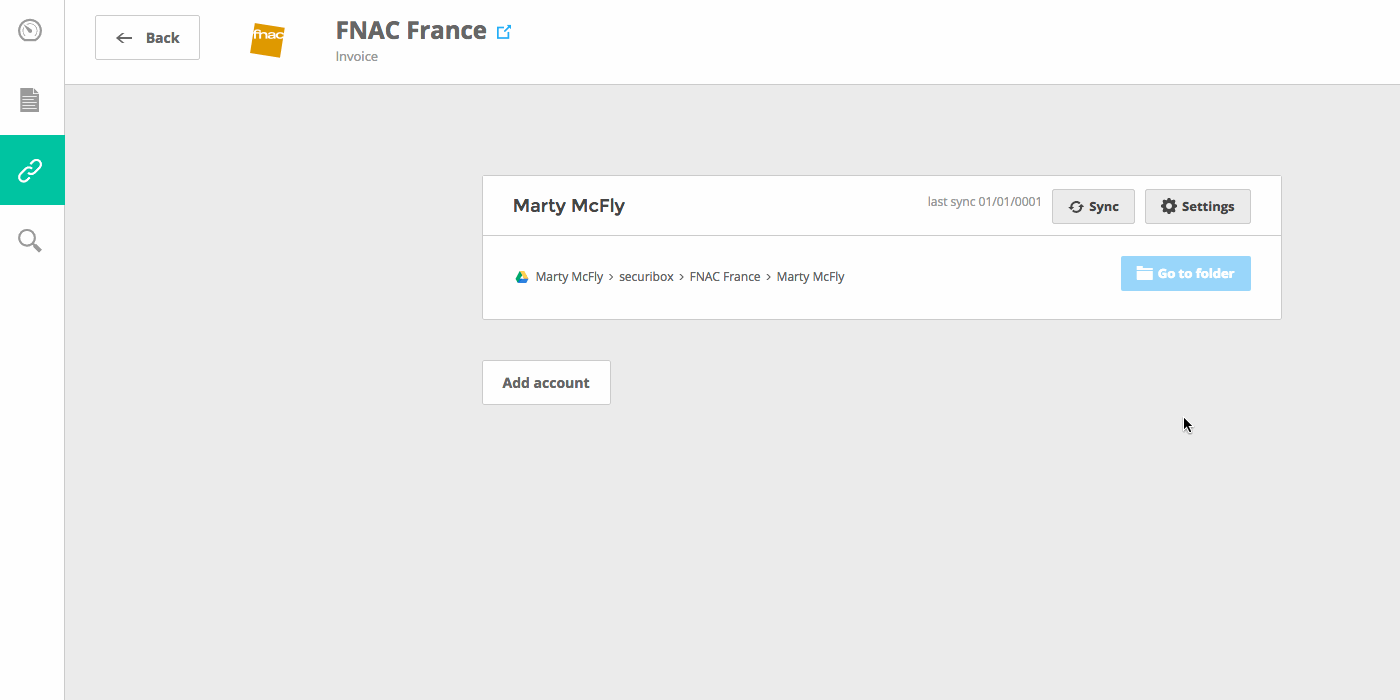
As you can see above, it’s possible to add other accounts to your agent and Sync them, all at the same time, through the top right button. You can also Go to your folder immediately after making your first synchronization.
If something goes wrong with your synchronization you can always Report an issue.
The Notifications option is going to show all the actions and changes made until that moment within your Cube. You can read or clear after checking the feed of actions.
Report an issue
When something goes wrong with your Agent synchronization process you can report an issue and have your problem solved in no time, with our support team.
Suggest a new Agent
Whenever you cannot find the Agent you are looking for, you can always make a suggestion or contact with us directly.
Edit or remove account
At any moment you can go to your account Settings to edit your information, the destination folder or to just remove it.