Manage your clouds
Learn how to add, manage and remove your cloud storage from Cube.
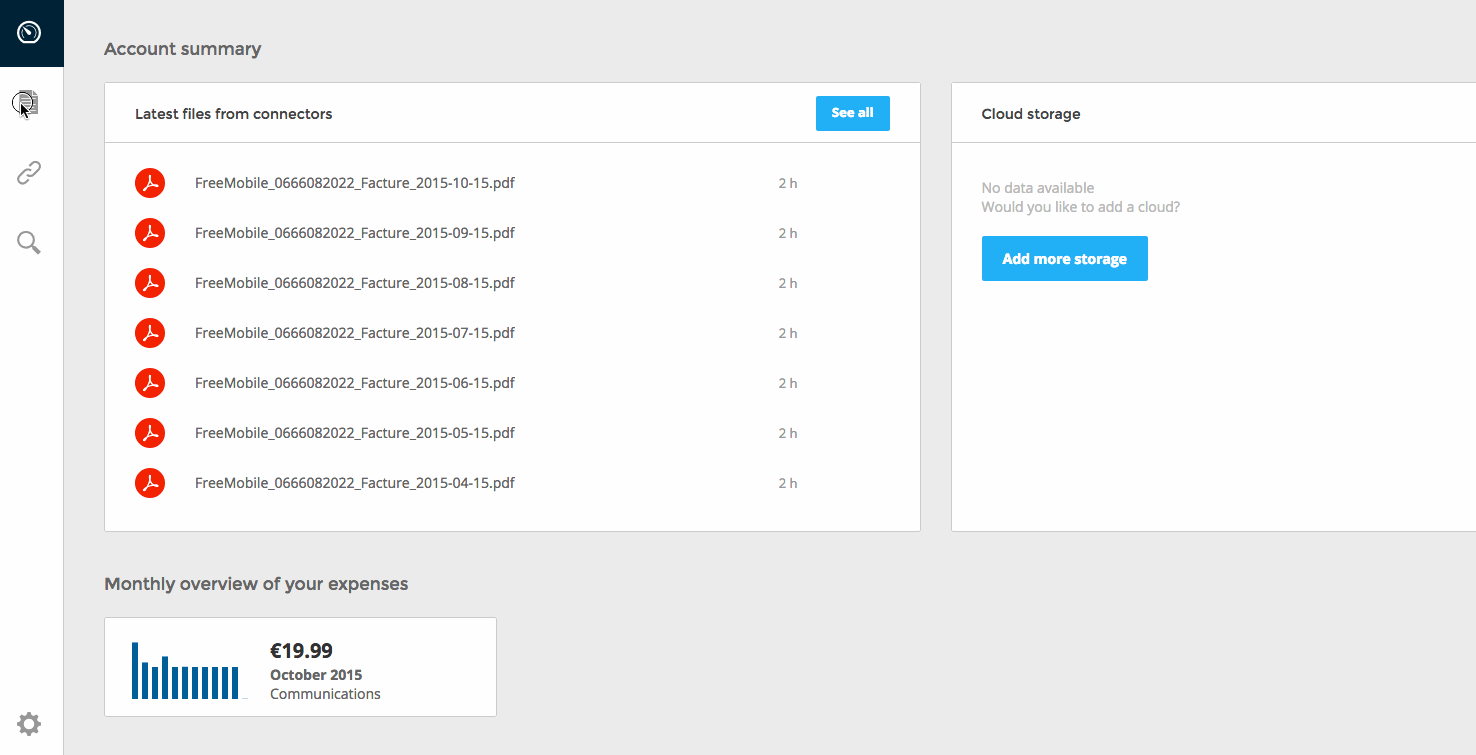
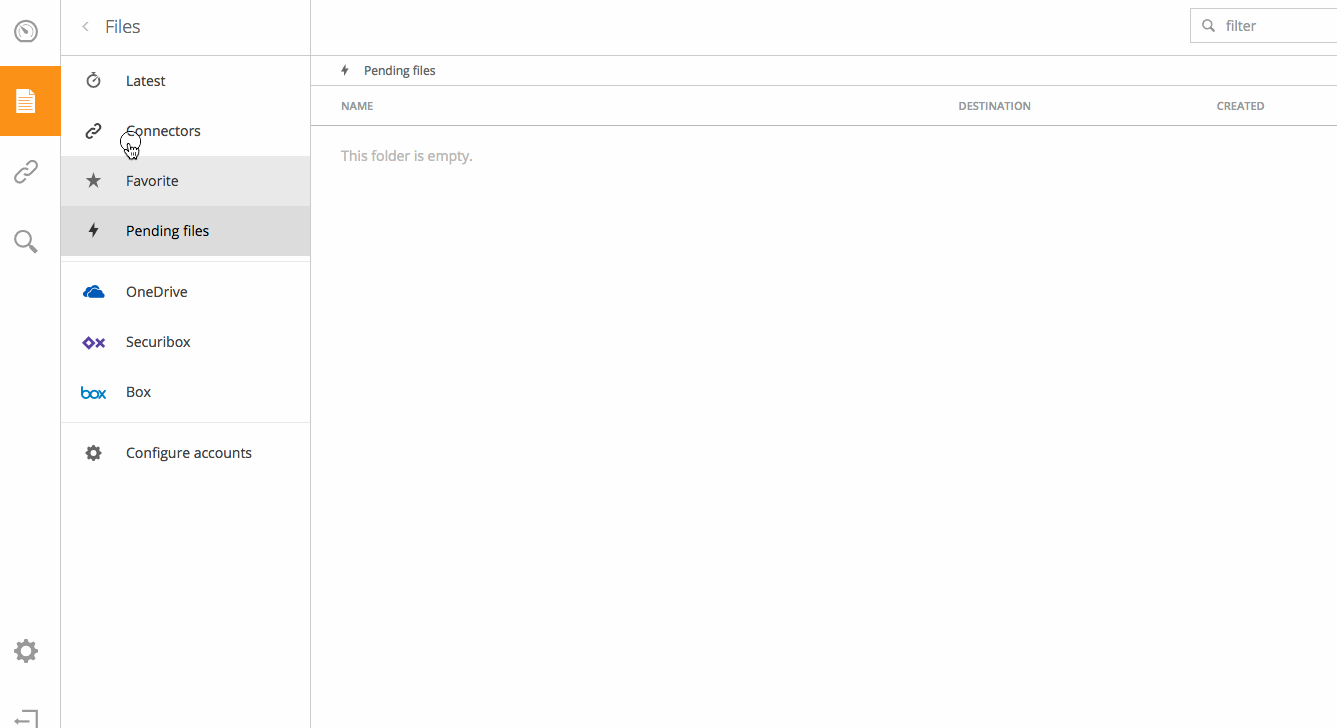
You can perform cloud actions in your Files tab, by clicking the Configure accounts button, and the Settings tabs in the Accounts section. These options are respectively shown below.
The actions available to manage your clouds are identical in both options.
Add a cloud to Cube
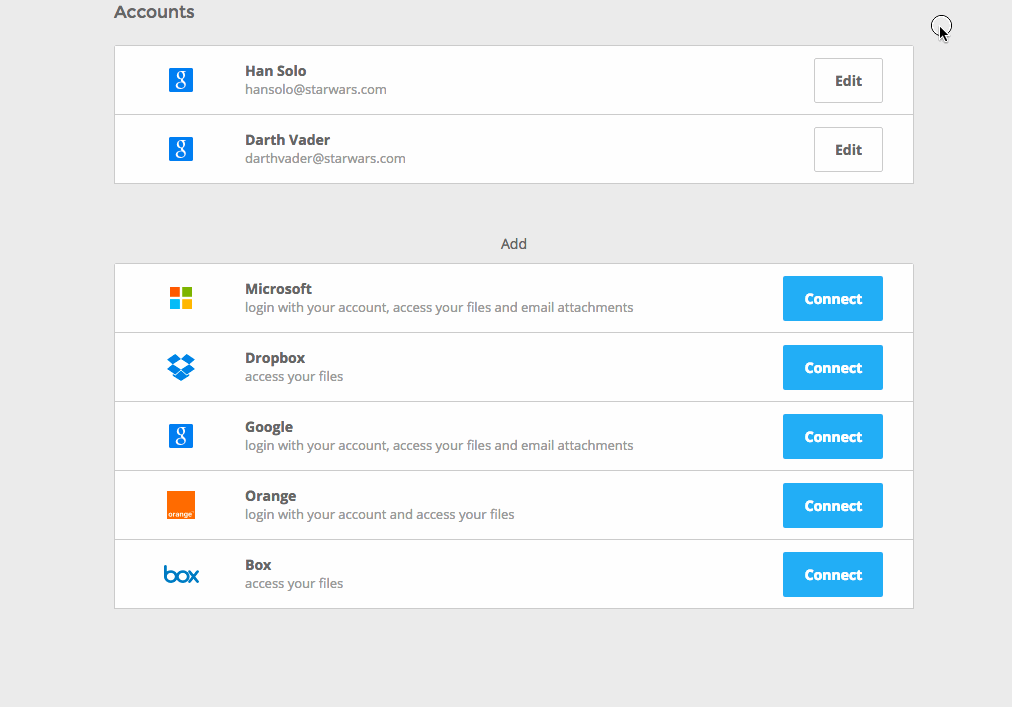
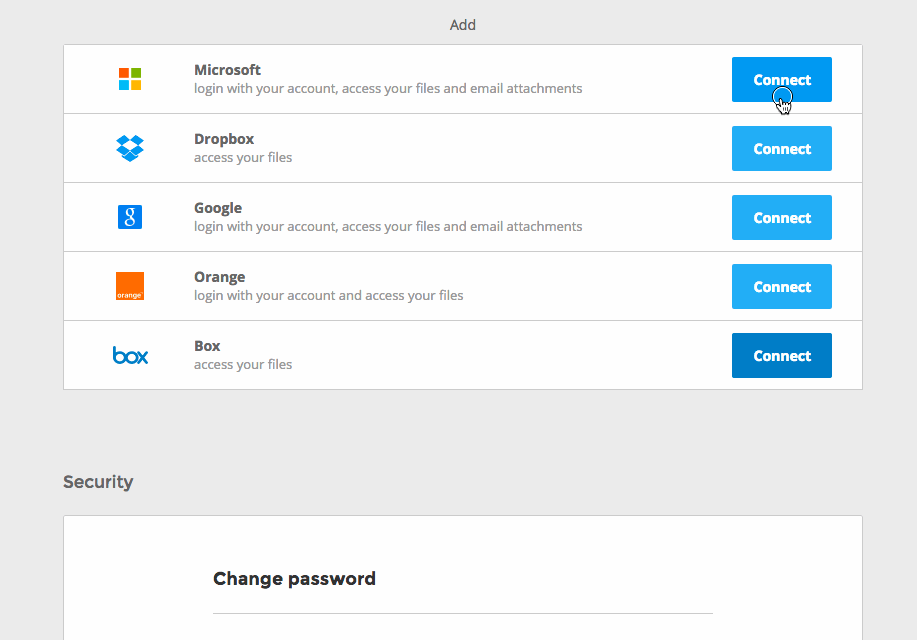
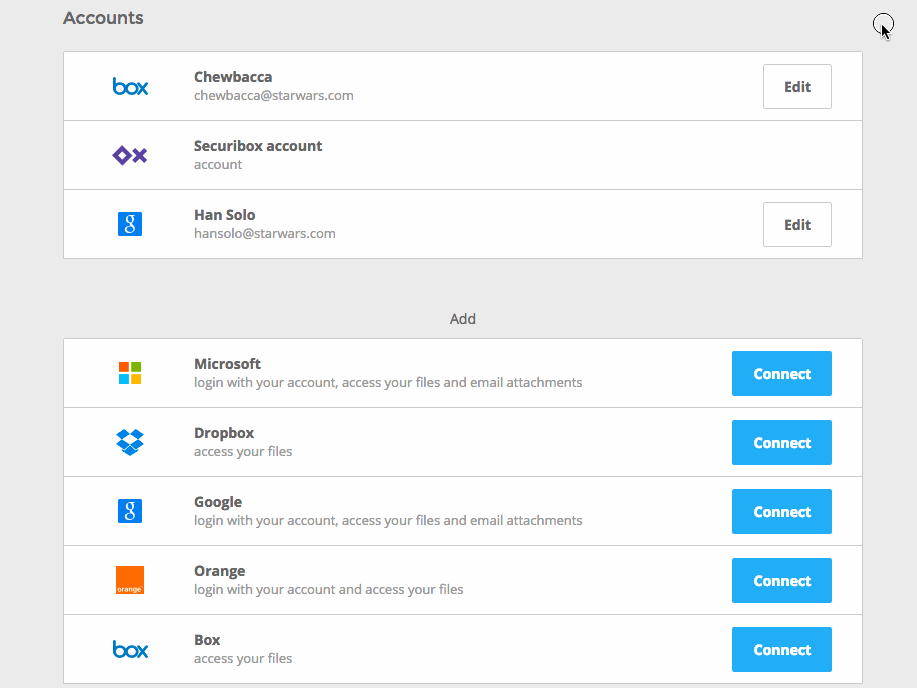
Once in your cloud section you’ll be presented with the Add a cloud option where all the available clouds will be displayed.
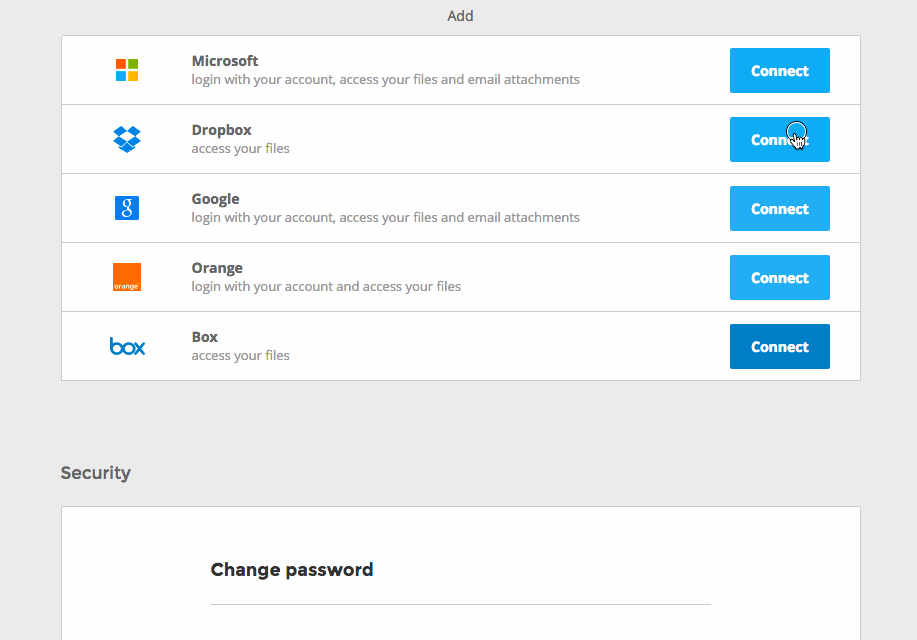
Follow the OAuth 2.0 process pop-up to add the cloud to your Cube. For more information on OAuth follow this link to Oauth’s wikipedia page.
After validating the steps above your cloud will appear in your accounts list.
Add multiple cloud accounts
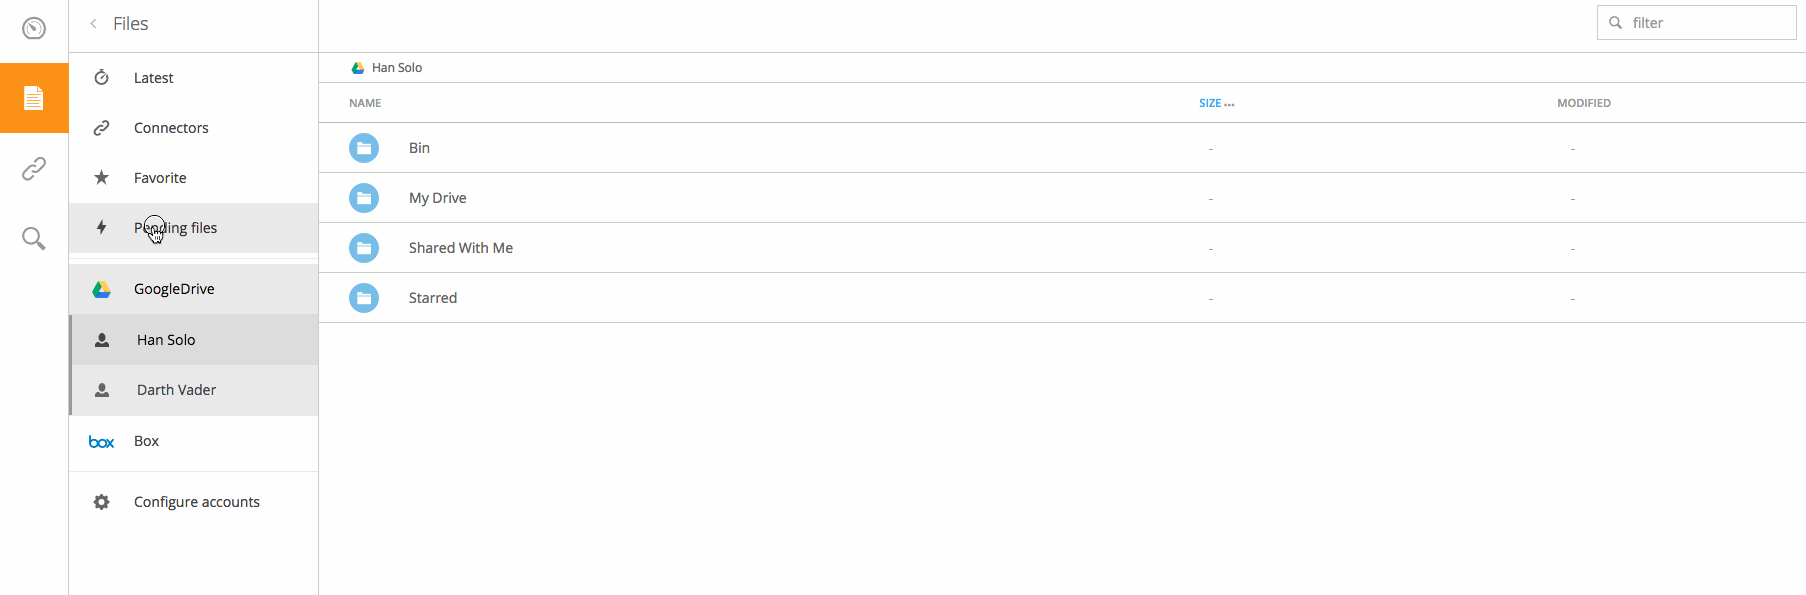
You can add as many cloud accounts as you want. Remember to edit your cloud account name, if you add multiple cloud accounts for the same provider it will make it easier to identify which cloud you’re browsing in the Files tab.
Browse your connected cloud files
You will be able to browse your cloud files, perform actions on your folders and files in the Files tab. Simply click on the cloud of your choice in the Files tab and naturally browse through your folders and files and perform standard actions (copy, move, share, rename, etc…).
Edit and remove your cloud
To remove a cloud from your Cube account simply click the edit button next to the cloud you want to remove 
The button will change to a disconnect button and by clicking it, you’ll be removing that cloud from your account.